How To Use Broadcom android IMEI Repair Tool Download
Firstly download broadcom android imei repair tool from here .
then make sure the drivers are successfully installed in your computer otherwise install from here .
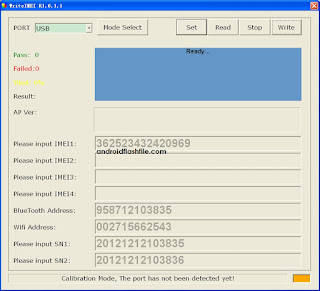
now open the software .
STEPS
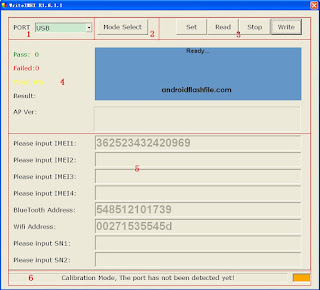
1. open WriteIMEI.exe,
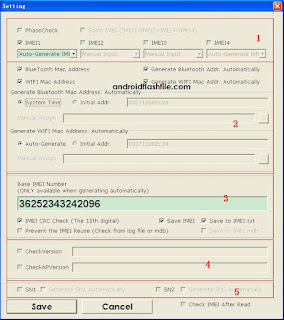
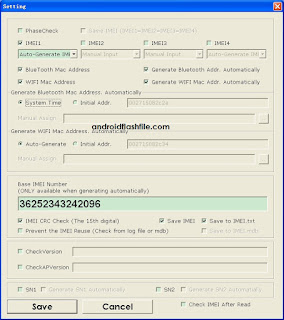
2. You can press “Set” button on the main interface to change the setting of WriteIMEI tool.
Setting interface elements :-
- Setting of IMEI.
- Setting of Blue Tooth and WIFI.
- The first 14 numbers of IMEI when “Auto-Generate IMEI ” is checked.
- Setting of checking version, include software version and AP version.
- Setting of SN(serial number)
Broadcom Android IMEI Repair Tool Download
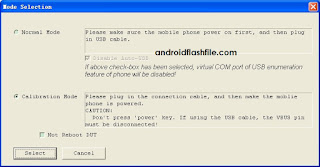
3. Mode Select Interface
You can press “Mode Sel” button on the main interface to change the Mode of WriteIMEI tool.
4. Select the Work Mode on mode sel interface, and Check items on set interface.
5. Press “Select”and“Save” button .
Important tips :-
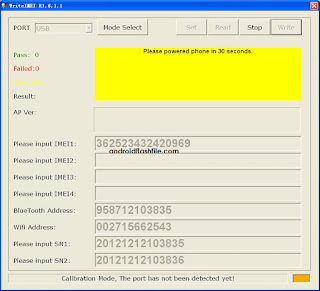
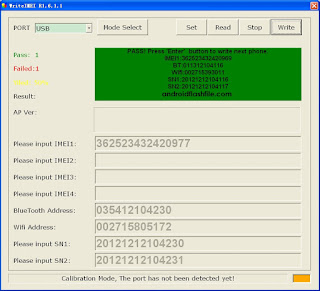
1. Choose the port that connects to phone, If the tool mode is “Working Mode”, press “Write” button to start writing IMEI.
2. If the tool mode is “Normal Mode”, press “Write” button to start writing IMEI .
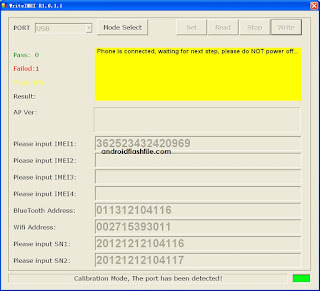
3. If the tool mode is “Normal Mode”, Power on the connected phone, wait for completing to write IMEI.
4. If the tool mode is “Working Mode”, wait for completing to write IMEI.


